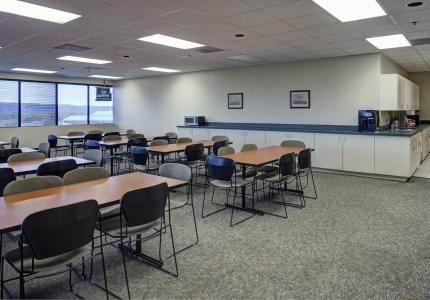
IC1 Willis Kitchen (1)
View Photo Details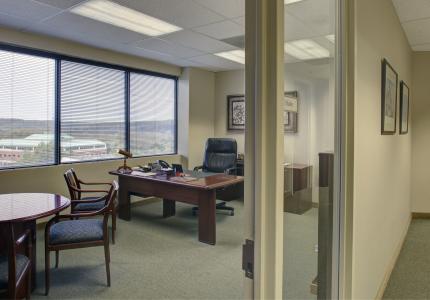
IC1 Willis Private Office (1)
View Photo Details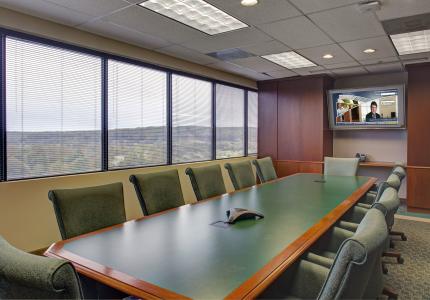
IC1 Willis Conference Room (4)
View Photo Details
IC1 Willis Lobby (3)
View Photo Details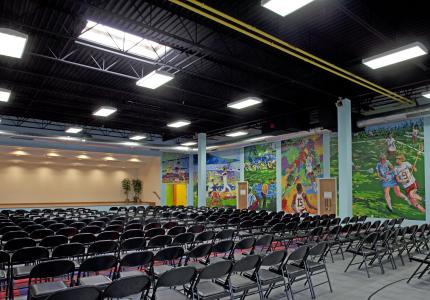
MCS Monarch School Interior (7)
View Photo Details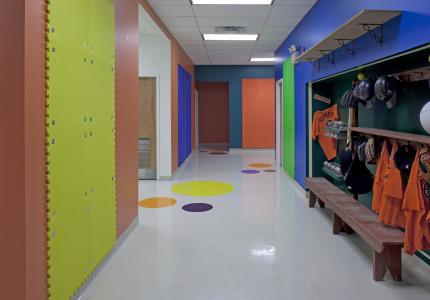
MCS Monarch School Interior (6)
View Photo Details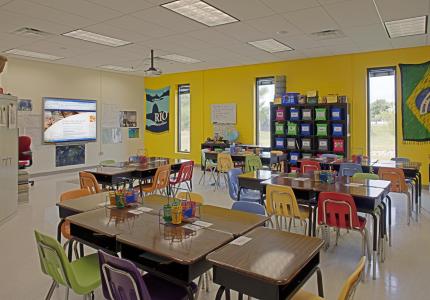
MCS Monarch School Interior (5)
View Photo Details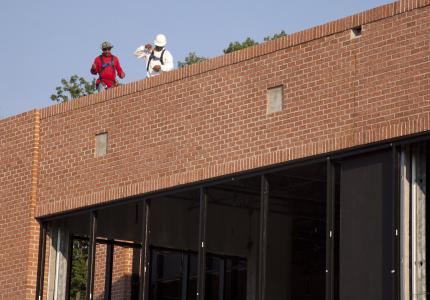
MR3 Meadowridge III Construction (6)
View Photo Details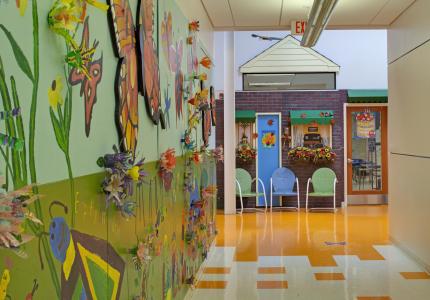
MCS Monarch School Interior (4)
View Photo Details
MR3 Meadowridge III Construction (5)
View Photo Details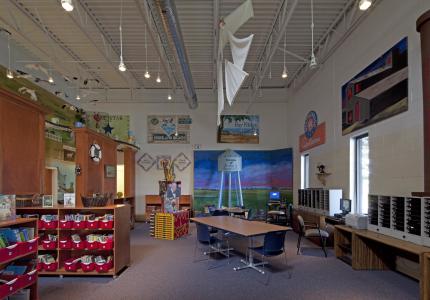
MCS Monarch School Interior (3)
View Photo Details
MCS Construction Photo Shoot (24)
View Photo Details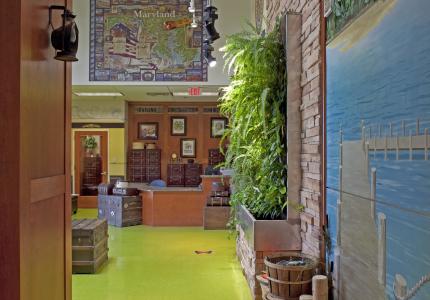
MCS Monarch School Interior (2)
View Photo Details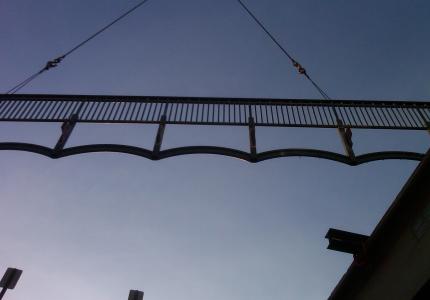
MCS Construction Photo Shoot (23)
View Photo Details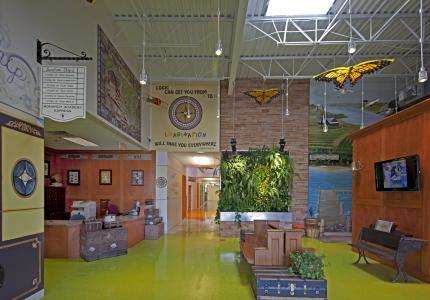
MCS Monarch School Interior (1)
View Photo Details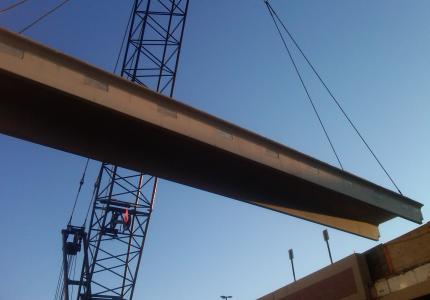
MCS Construction Photo Shoot (22)
View Photo Details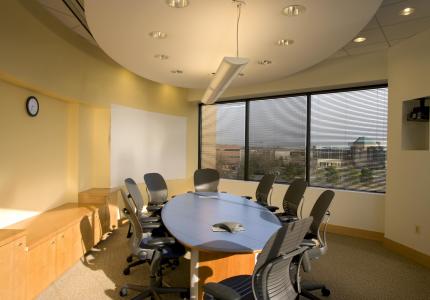
LS8 Neustar Conference Room (1)
View Photo Details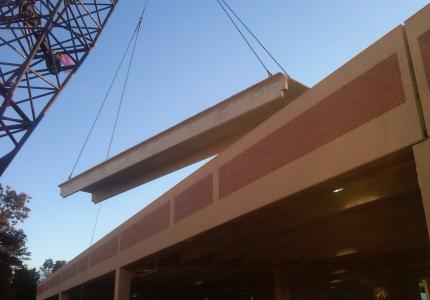
MCS Construction Photo Shoot (21)
View Photo Details
LS8 Neustar Interior (10)
View Photo Details
EX1 The Exchange Exterior (13)
View Photo Details
LS8 Neustar Lobby
View Photo Details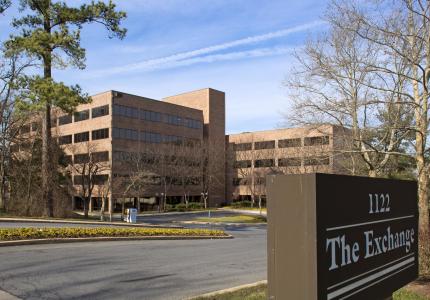
EX1 The Exchange Exterior (10)
View Photo Details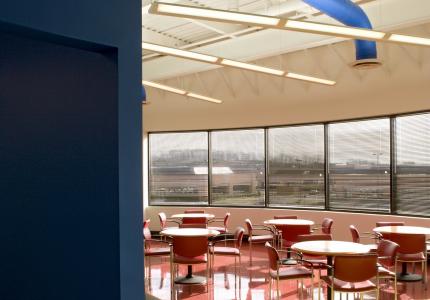
LS8 Neustar Interior (9)
View Photo Details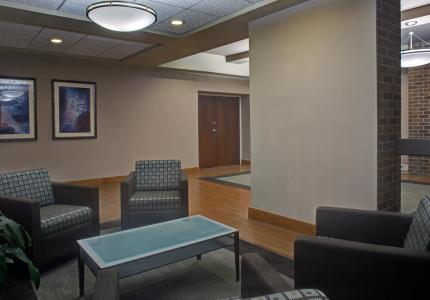
EX1 The Exchange Lobby (9)
View Photo Details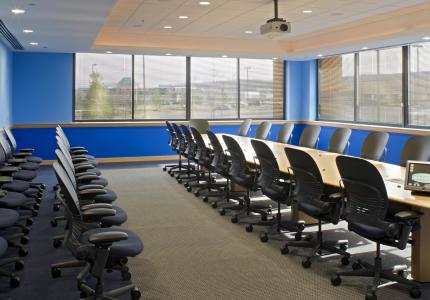
LS8 Neustar Conference Room (3)
View Photo Details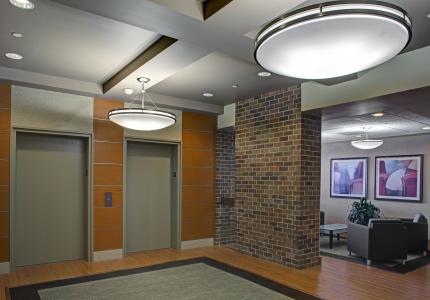
EX1 The Exchange Lobby (8)
View Photo Details
LS8 Neustar Interior (7)
View Photo Details
EX1 The Exchange Lobby (7)
View Photo Details
LS8 Neustar Interior (6)
View Photo Details
SC1B Schilling Green II Exterior (9)
View Photo Details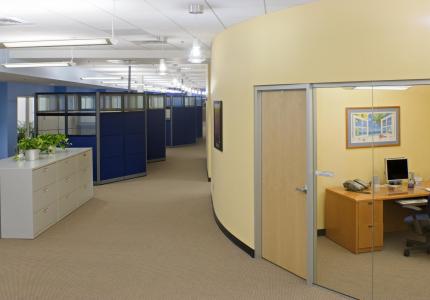
LS8 Neustar Interior (3)
View Photo Details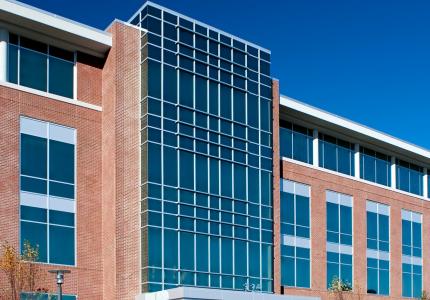
SC1B Schilling Green II Exterior (7)
View Photo Details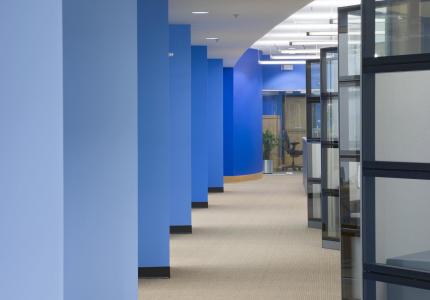
LS8 Neustar Interior (2)
View Photo Details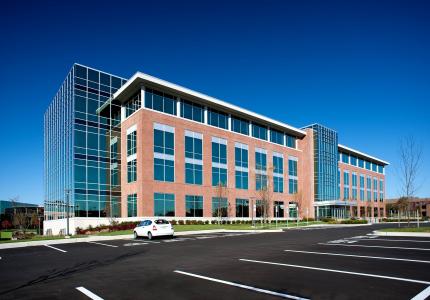
SC1B Schilling Green II Exterior (5)
View Photo Details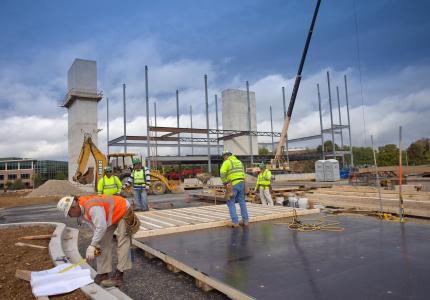
SC1B Construction Photo Shoot (23)
View Photo Details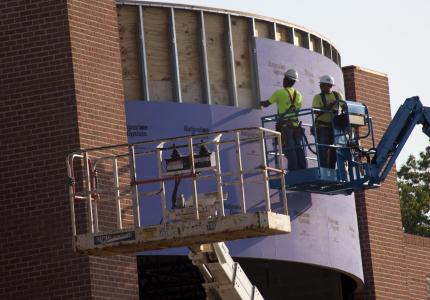
MR3 Meadowridge III Construction (25)
View Photo Details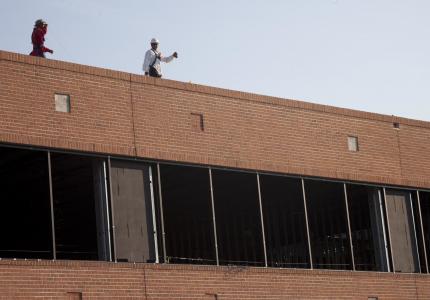
MR3 Meadowridge III Construction (8)
View Photo Details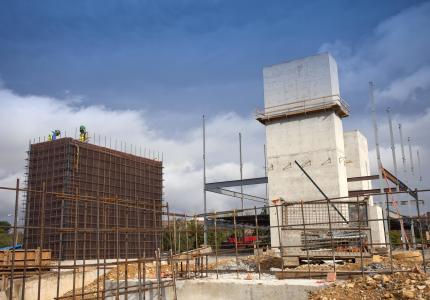
SC1B Construction Photo Shoot (21)
View Photo Details
MR3 Meadowridge III Construction (24)
View Photo Details
MR3 Meadowridge III Construction (7)
View Photo Details
SC1B Construction Photo Shoot (19)
View Photo Details
MR3 Meadowridge III Construction (23)
View Photo Details
SC1B Construction Photo Shoot (18)
View Photo Details
MR3 Meadowridge III Construction (22)
View Photo Details
SC1B Construction Photo Shoot (17)
View Photo Details
MR3 Meadowridge III Construction (21)
View Photo Details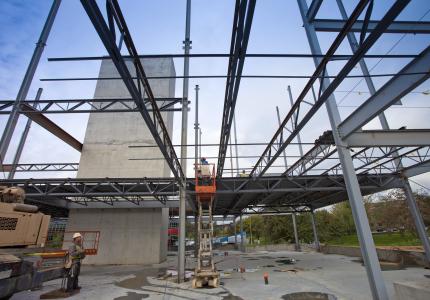
SC1B Construction Photo Shoot (12)
View Photo Details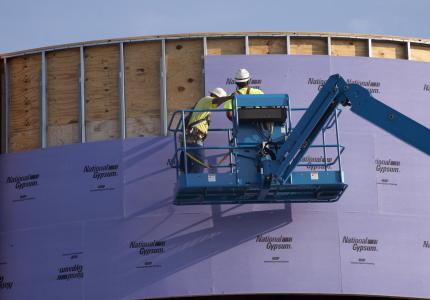
MR3 Meadowridge III Construction (20)
View Photo Details
SC1B Construction Photo Shoot (11)
View Photo Details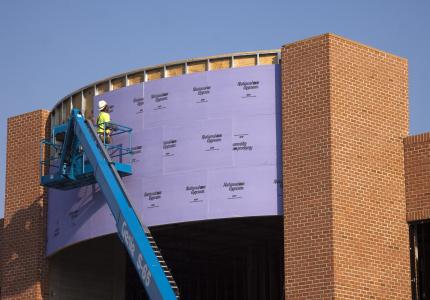
MR3 Meadowridge III Construction (19)
View Photo Details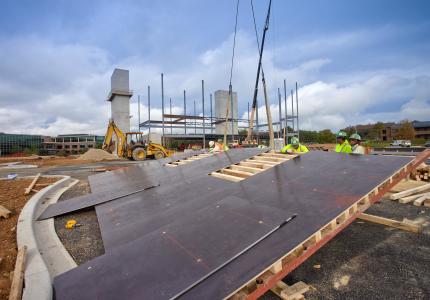
SC1B Construction Photo Shoot (10)
View Photo Details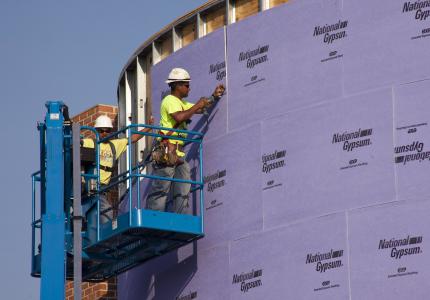
MR3 Meadowridge III Construction (18)
View Photo Details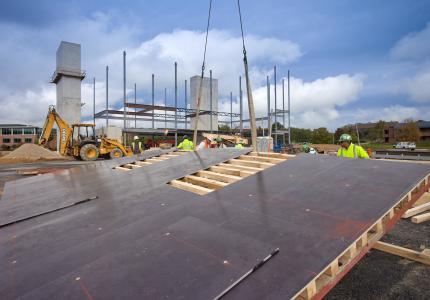
SC1B Construction Photo Shoot (7)
View Photo Details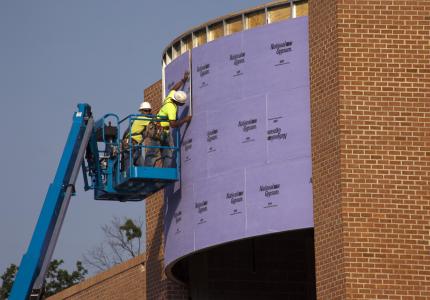
MR3 Meadowridge III Construction (16)
View Photo Details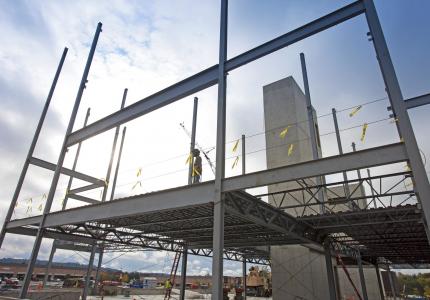
SC1B Construction Photo Shoot (2)
View Photo Details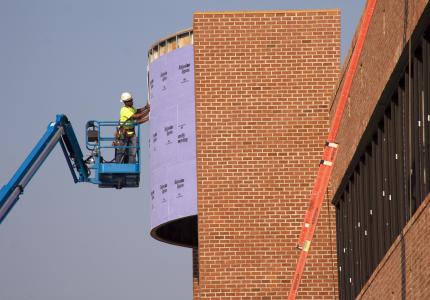
MR3 Meadowridge III Construction (15)
View Photo Details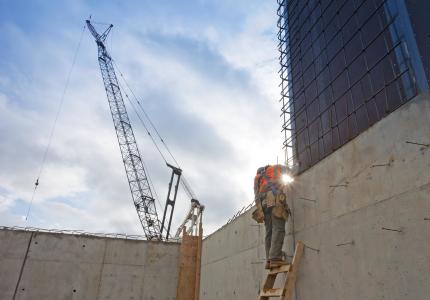
SC1B Construction Photo Shoot (1)
View Photo Details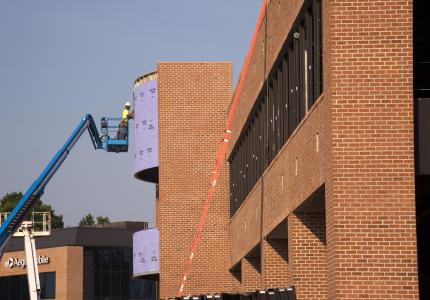
MR3 Meadowridge III Construction (14)
View Photo Details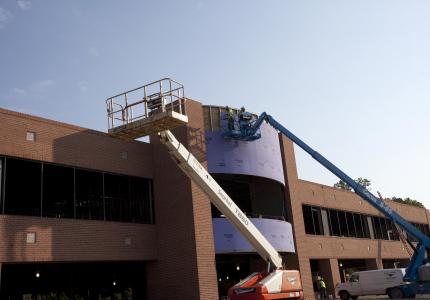
MR3 Meadowridge III Construction (17)
View Photo Details
MR3 Meadowridge III Construction (13)
View Photo Details
MR3 Meadowridge III Construction (29)
View Photo Details
MR3 Meadowridge III Construction (12)
View Photo Details
MR3 Meadowridge III Construction (28)
View Photo Details
MR3 Meadowridge III Construction (11)
View Photo Details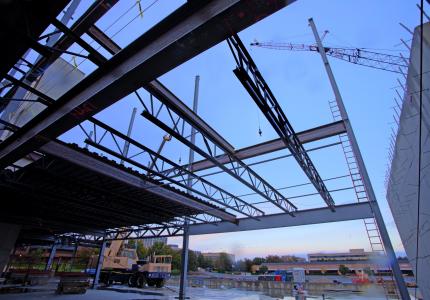
SC1B Construction Photo Shoot (53)
View Photo Details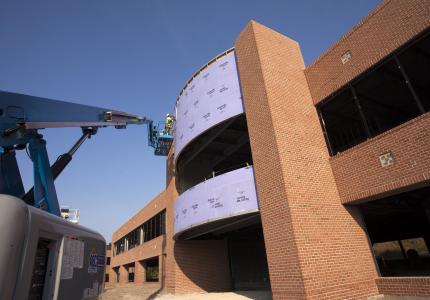
MR3 Meadowridge III Construction (27)
View Photo Details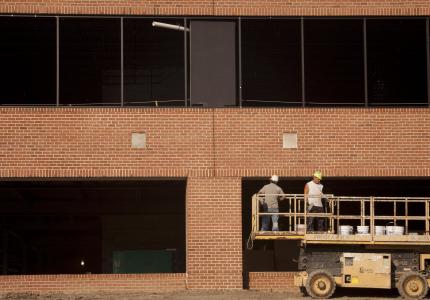
MR3 Meadowridge III Construction (10)
View Photo Details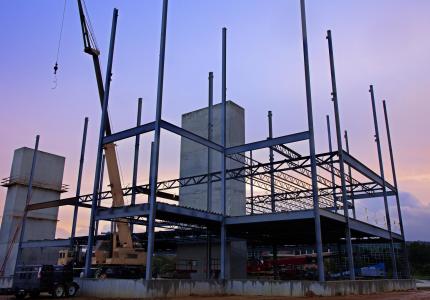
SC1B Construction Photo Shoot (51)
View Photo Details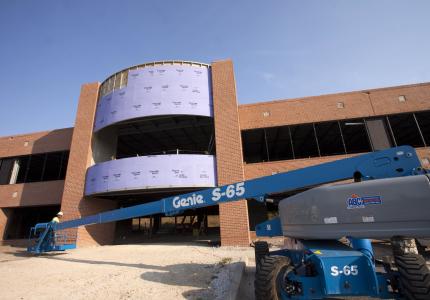
MR3 Meadowridge III Construction (26)
View Photo Details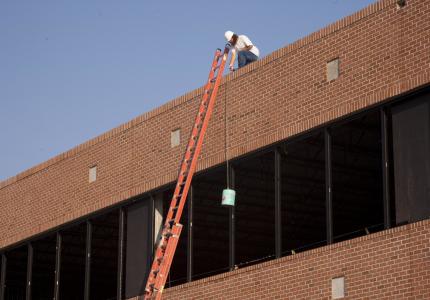
MR3 Meadowridge III Construction (9)
View Photo Details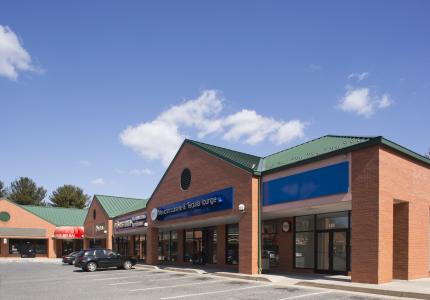
CM1 Columbia Market Place Exterior (22)
View Photo Details
TD3 Timonium One Deli (2)
View Photo Details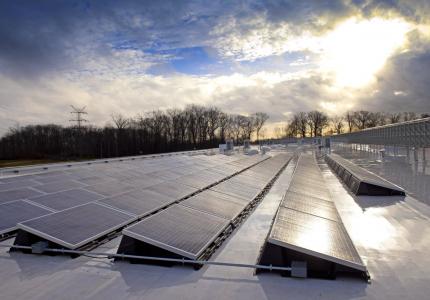
MBM03 Centric Solar Panels (2)
View Photo Details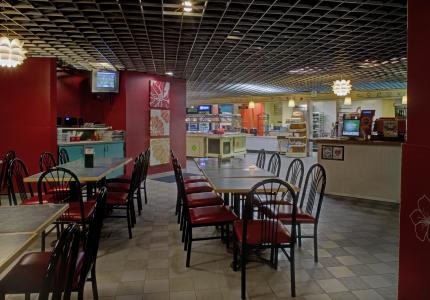
TD3 Timonium One Deli (1)
View Photo Details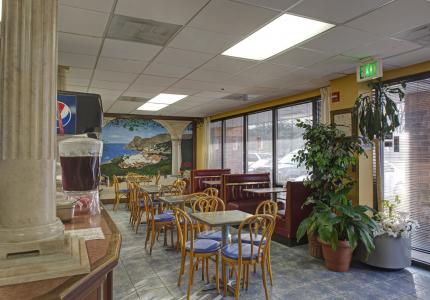
IC1 International Circle Deli (7)
View Photo Details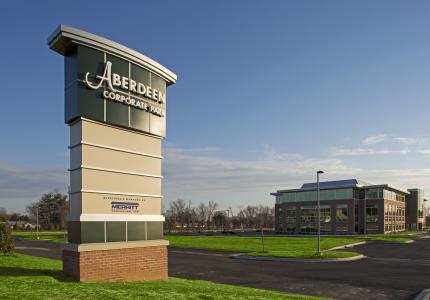
AD2 Aberdeen Corporate Park Exterior (19)
View Photo Details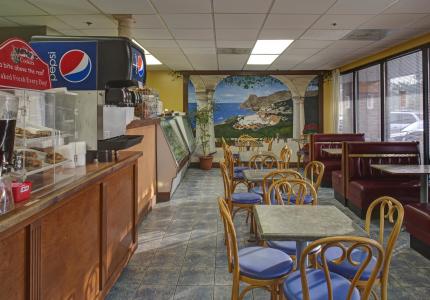
IC1 International Circle Deli (5)
View Photo Details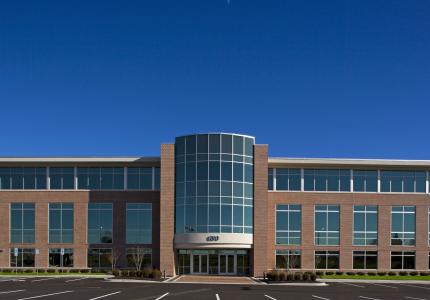
AD2 Aberdeen Corporate Park Exterior (17)
View Photo Details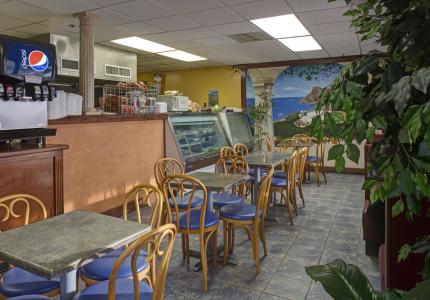
IC1 International Circle Deli (3)
View Photo Details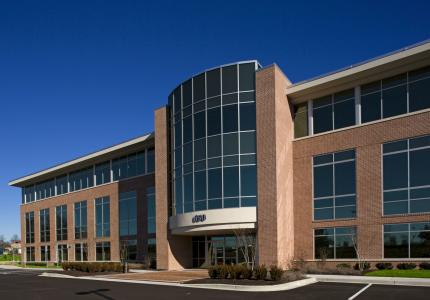
AD2 Aberdeen Corporate Park Exterior (15)
View Photo Details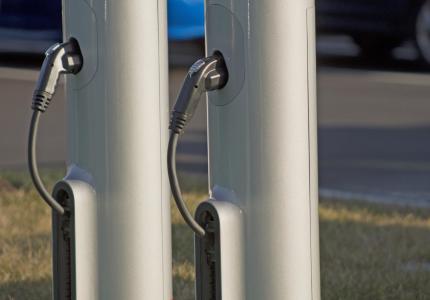
SC1B Vehicle Charging Stations (4)
View Photo Details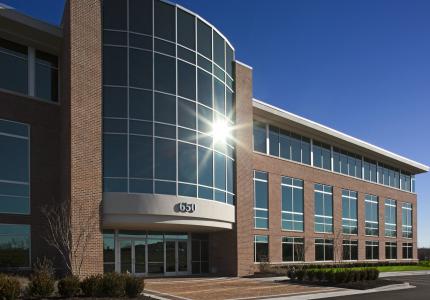
AD2 Aberdeen Corporate Park Exterior (13)
View Photo Details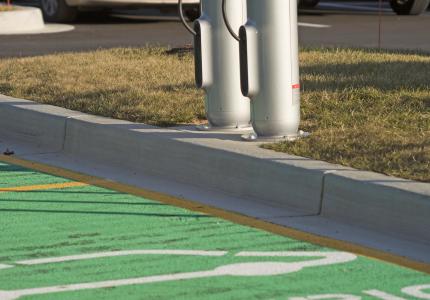
SC1B Vehicle Charging Stations (3)
View Photo Details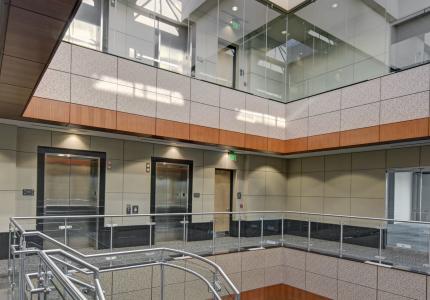
AD2 Aberdeen Corporate Park Lobby (16)
View Photo Details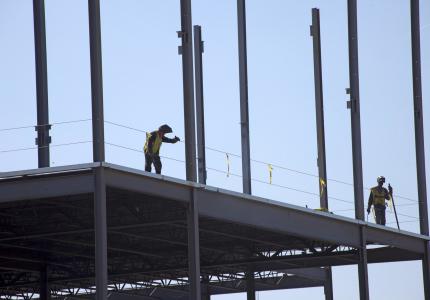
SC1B Construction Photo Shoot (75)
View Photo Details
AD2 Aberdeen Corporate Park Lobby (13)
View Photo Details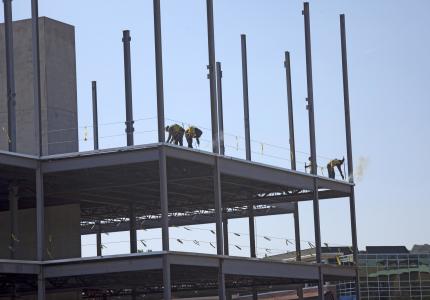
SC1B Construction Photo Shoot (73)
View Photo Details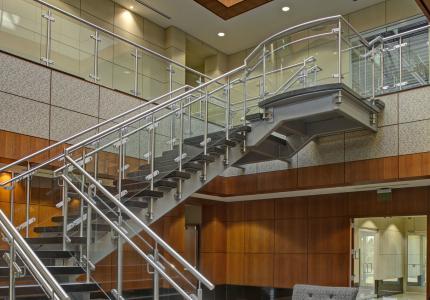
AD2 Aberdeen Corporate Park Lobby (8)
View Photo Details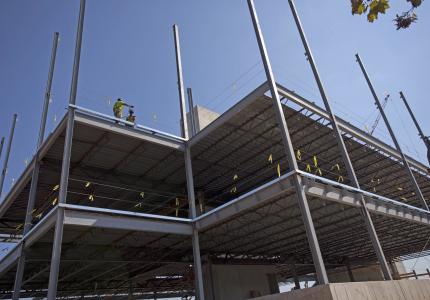
SC1B Construction Photo Shoot (64)
View Photo Details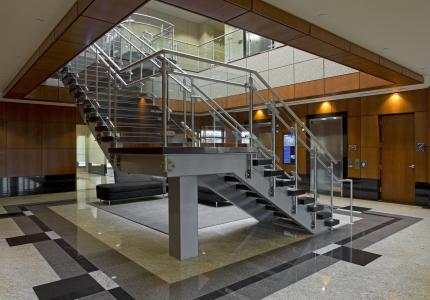
AD2 Aberdeen Corporate Park Lobby (1)
View Photo Details
SC1B Construction Photo Shoot (61)
View Photo Details
AD2 Aberdeen Corporate Park Exterior (1)
View Photo Details
SC1B Construction Photo Shoot (60)
View Photo Details
FL4 1802 Fashion Court Exterior (12)
View Photo Details
SC1B Construction Photo Shoot (58)
View Photo Details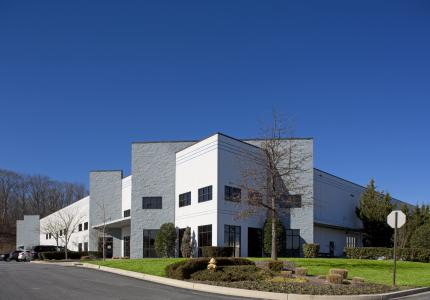
FL4 1802 Fashion Court Exterior (9)
View Photo Details