
MR3 Meadowridge III Construction (6)
View Photo Details
MR3 Meadowridge III Construction (5)
View Photo Details
MR3 Meadowridge III Construction (9)
View Photo Details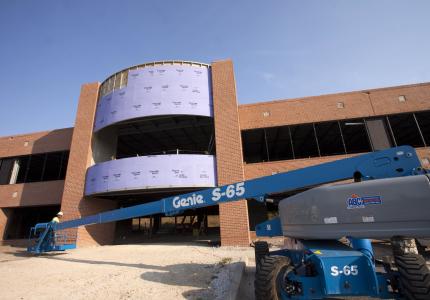
MR3 Meadowridge III Construction (26)
View Photo Details
MR3 Meadowridge III Construction (8)
View Photo Details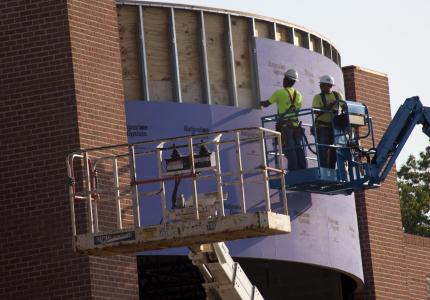
MR3 Meadowridge III Construction (25)
View Photo Details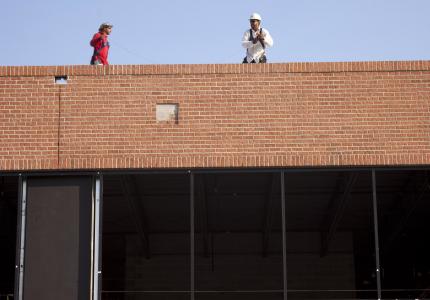
MR3 Meadowridge III Construction (7)
View Photo Details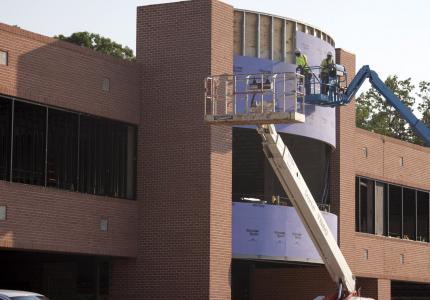
MR3 Meadowridge III Construction (24)
View Photo Details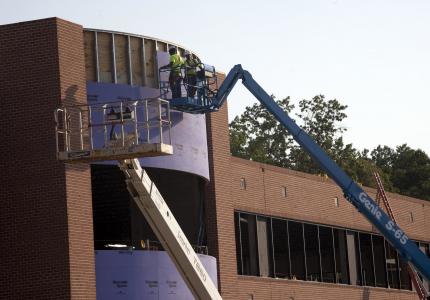
MR3 Meadowridge III Construction (23)
View Photo Details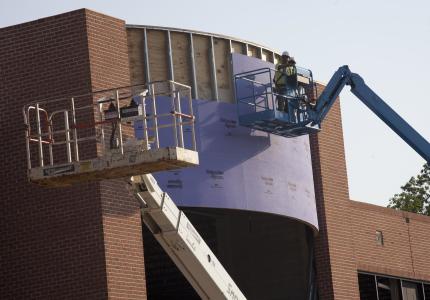
MR3 Meadowridge III Construction (22)
View Photo Details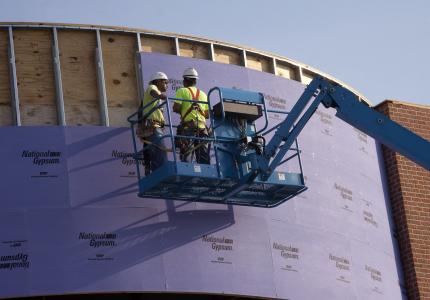
MR3 Meadowridge III Construction (21)
View Photo Details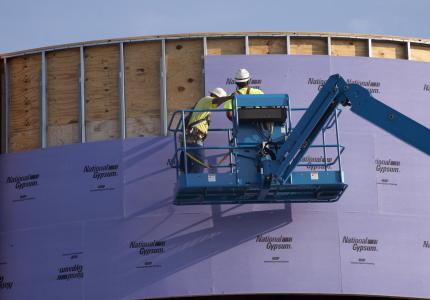
MR3 Meadowridge III Construction (20)
View Photo Details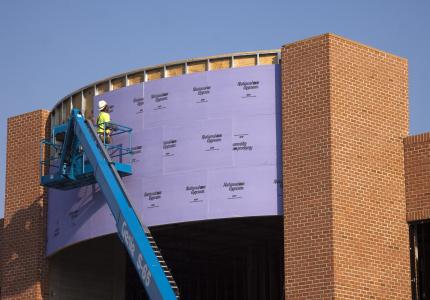
MR3 Meadowridge III Construction (19)
View Photo Details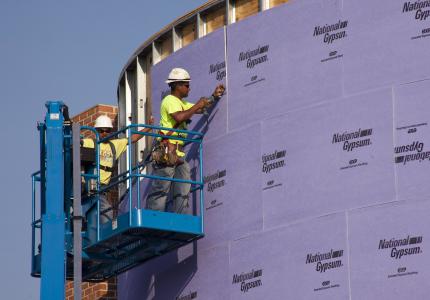
MR3 Meadowridge III Construction (18)
View Photo Details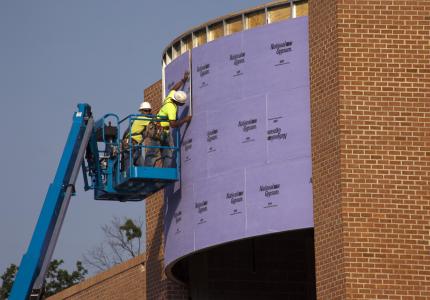
MR3 Meadowridge III Construction (16)
View Photo Details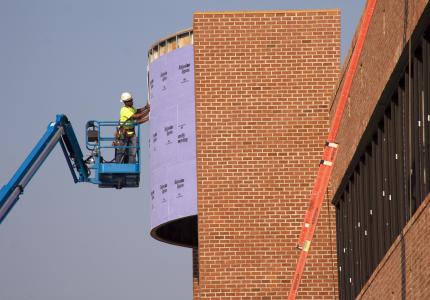
MR3 Meadowridge III Construction (15)
View Photo Details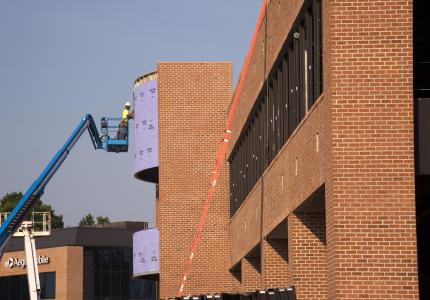
MR3 Meadowridge III Construction (14)
View Photo Details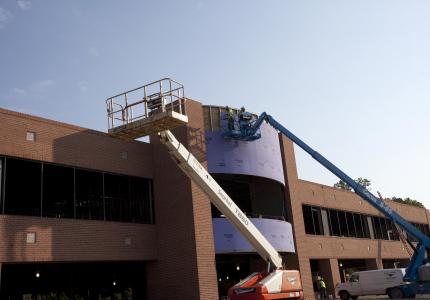
MR3 Meadowridge III Construction (17)
View Photo Details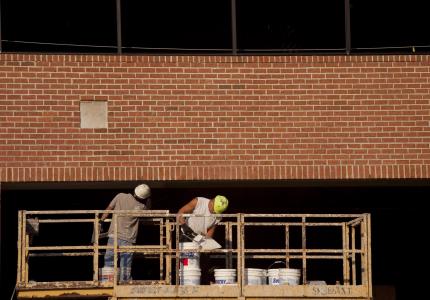
MR3 Meadowridge III Construction (13)
View Photo Details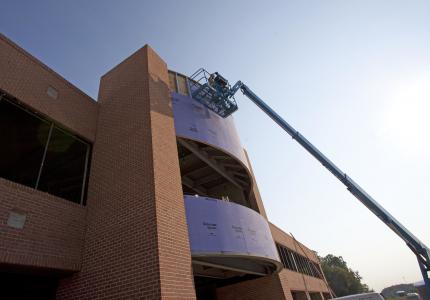
MR3 Meadowridge III Construction (29)
View Photo Details
MR3 Meadowridge III Construction (12)
View Photo Details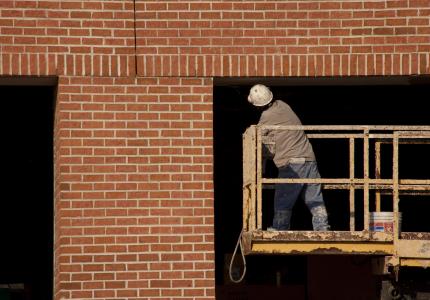
MR3 Meadowridge III Construction (11)
View Photo Details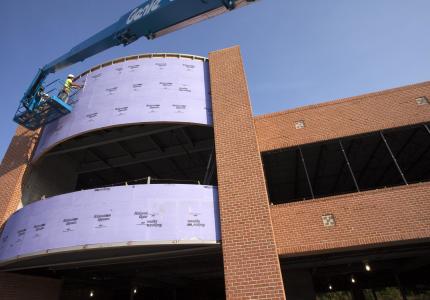
MR3 Meadowridge III Construction (28)
View Photo Details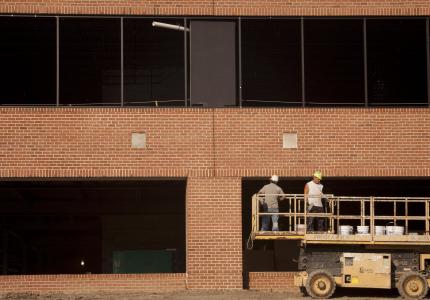
MR3 Meadowridge III Construction (10)
View Photo Details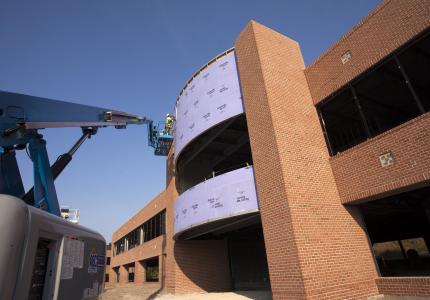
MR3 Meadowridge III Construction (27)
View Photo Details